Introduction
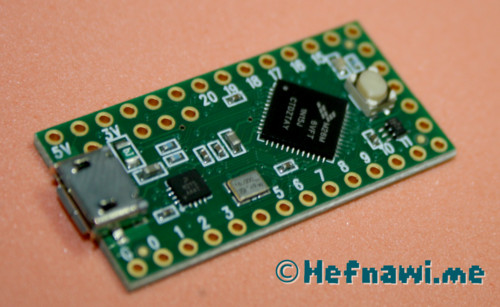
Teensy LC (Low Cost) is a 32-bit microcontroller board that you can get from PJRC a company in Oregon, USA, which is owned and managed by Paul Stoffregen. It features an ARM Cortex-M0+ processor designed for low-power, low-cost devices.
You can buy it and read more technical details on PJRC’s Teensy LC page.
I am writing this tutorial as a complete guide for starting with the Teensy LC development and also as a reference for myself in case I need to revisit it in the future. It is heavily based on PJRC’s instructions.
Note: Teensy LC’s I/O pins are NOT 5V tolerant!
Programming
There are multiple options for programming the Teensy LC, but I will proceed with the most straight forward approach, using the Arduino Software.
If you require guidance during the installation of any of the software below on Linux or other platforms, please comment below and I won’t ever hesitate to give you a hand.
Install Arduino IDE
You can program the Teensy LC using the Arduino Software IDE which is available for Linux, Mac OS X and Windows.
The latest version as of writing this post is ARDUINO 1.8.9 [Download size: 116MB]. You can follow instructions to download and install the latest version from the Arduino website in their getting started guide for Linux.
Below is a summary of commands to run in terminal for installing Arduino IDE on Ubuntu.
| |
And you shall be greeted by this blank sketch on the Arduino IDE window:
Now remember this directory where you installed Arduino IDE, we will need it in the next step, in my case it is:
| |
Teensyduino
Head over to Teensyduino PJRC page to download and install the Teensyduino which is a software add-on for the Arduino software also available for major operating systems.
Install on Linux
You have to carefully check whether the latest version of Arduino IDE is supported by the version of Teensyduino that you are downloading. I have checked and at that time the PJRC’s download page indicated the following
| |
Since we are using the latest Arduino IDE version 1.8.9, then we are good to go. I downloaded the “Linux Installer (X86 64 bit) [Download size: 65.1MB]” for Teensyduino latest version 1.47 at the time of writing this post.
I am using Linux, so I need to install udev rules to grant non-root users permission to use the Teensy devices, this is performed by downloading this 49-teensy.rules file and then copying it to the destination below
| |
Now run the Teensyduino Linux Installer, which we downloaded earlier
| |
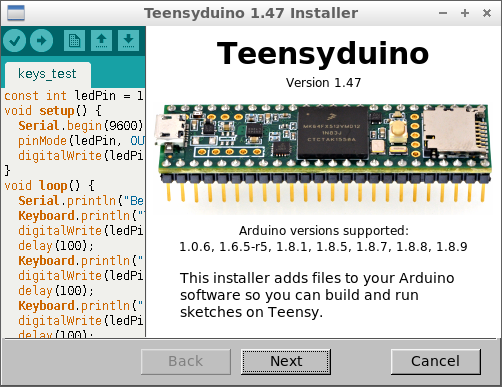
The Linux Installer will start:
As discussed earlier it is important to double-check that our Arduino Software IDE version is supported and included in the list advertised in the window above.
Next, we choose the installation directory where we installed the Arduino Software IDE, in my example above that was:
| |
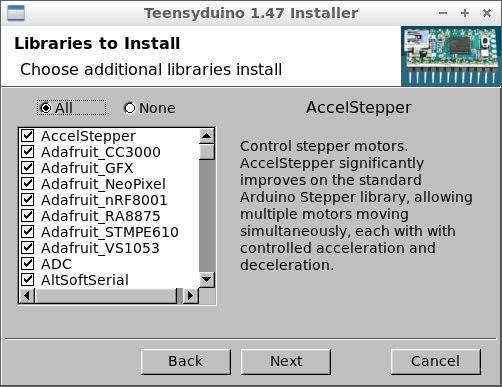
The next window will let you choose which libraries you want to install, you could either choose none or all, additionally, you could cherry-pick just the libraries you need. Since I am hosting a Teensy LC Challenge I chose All 😉
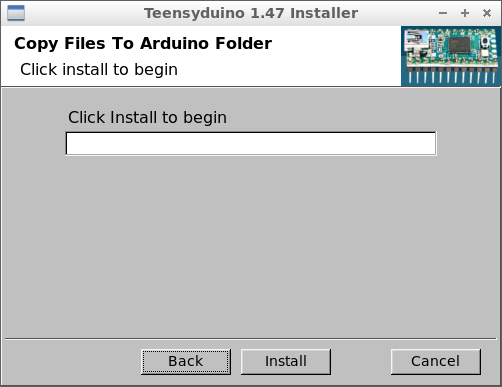
Next, you click Install to start the installation process.
Finally, you are presented with this window which gives you very useful instructions for the first usage versus normal usage.
Click “Done” and now you have successfully installed Arduino Software IDE along with the Teensyduino Add-on.
Congratulations, you are awesome! 😄
First Usage
Now let’s plug our cute Teensy LC board into our machine via the USB cable. You will notice that the LED on board will start blinking because the Teensy LC already comes pre-loaded with a blinking LED program.
Next, start the Arduino Software IDE and choose “Teensy LC” from this menu as shown below:
| |
You might also need to choose the Teensy port from "Tools" > "Port" menu as well, depending on your setup.
Next let’s load a simple Example Sketch from this menu:
| |
Now click on the verify button: 
In my case, I got the following error
| |
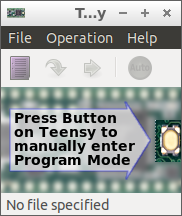
Immediately, the Teensy Loader 1.47 window pops up, prompting us to press the button on Teensy LC to enter the HalfKay Bootloader Mode, you can read more on that here.
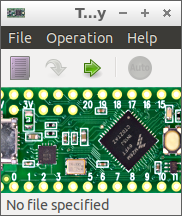
After I push the button on the Teensy LC, the Teensy Loader window changed to the following state.
Now, I could compile the sketch for the BlinkWithoutDelay on the Arduino IDE without errors. Notice the comments about the LED pin definitions for the different Teensy boards, I tried to change it to pin 11 as shown in the screenshots below, however, Teensy LC had its LED on pin 13 just as the default Arduino LED pin so I reverted back to pin 13.
The valid line for Teensy LC should be:
| |
Now, click on “Upload” and the sketch should be flashed onto the Teensy LC.
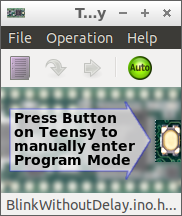
You will see the Teensy Loader window changes to this view and it updates the program details at the bottom to BlinkWithoutDelay.ino.hex
Now we are good and all setup for using the Teensy LC using the Arduino Software IDE. Your Teensy LC should be blinking its LED at the moment.
Good job! 😁
As always feel free to comment, suggest or ask anything below.
